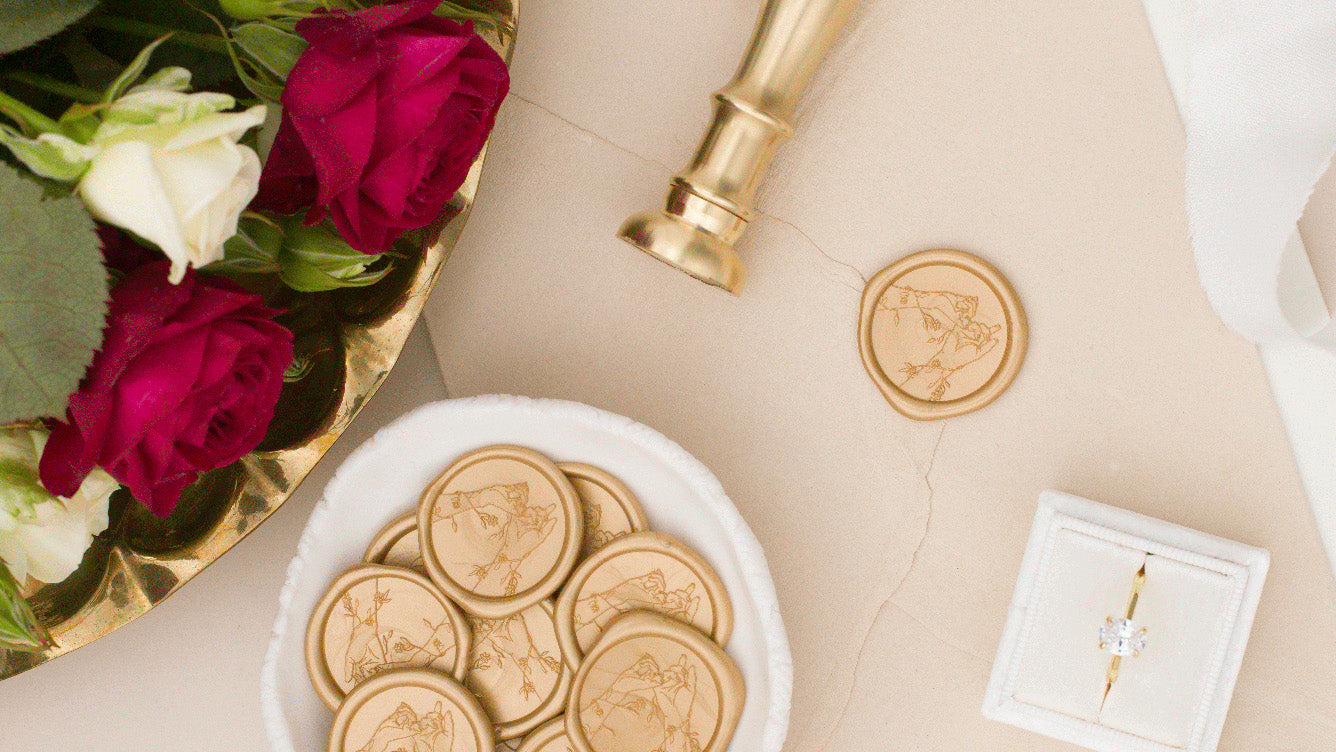
Wax seals are an elegant and blissful way to elevate your stationery, gifts, packaging, etc. But how do you get your wax seals perfect every time? In this article, we will show you how to make wax seals using the popular glue gun method and the sealing wax bead method so that you can look like a seasoned artisan with every impression.
How To Use Sealing Wax Sticks
Materials Required
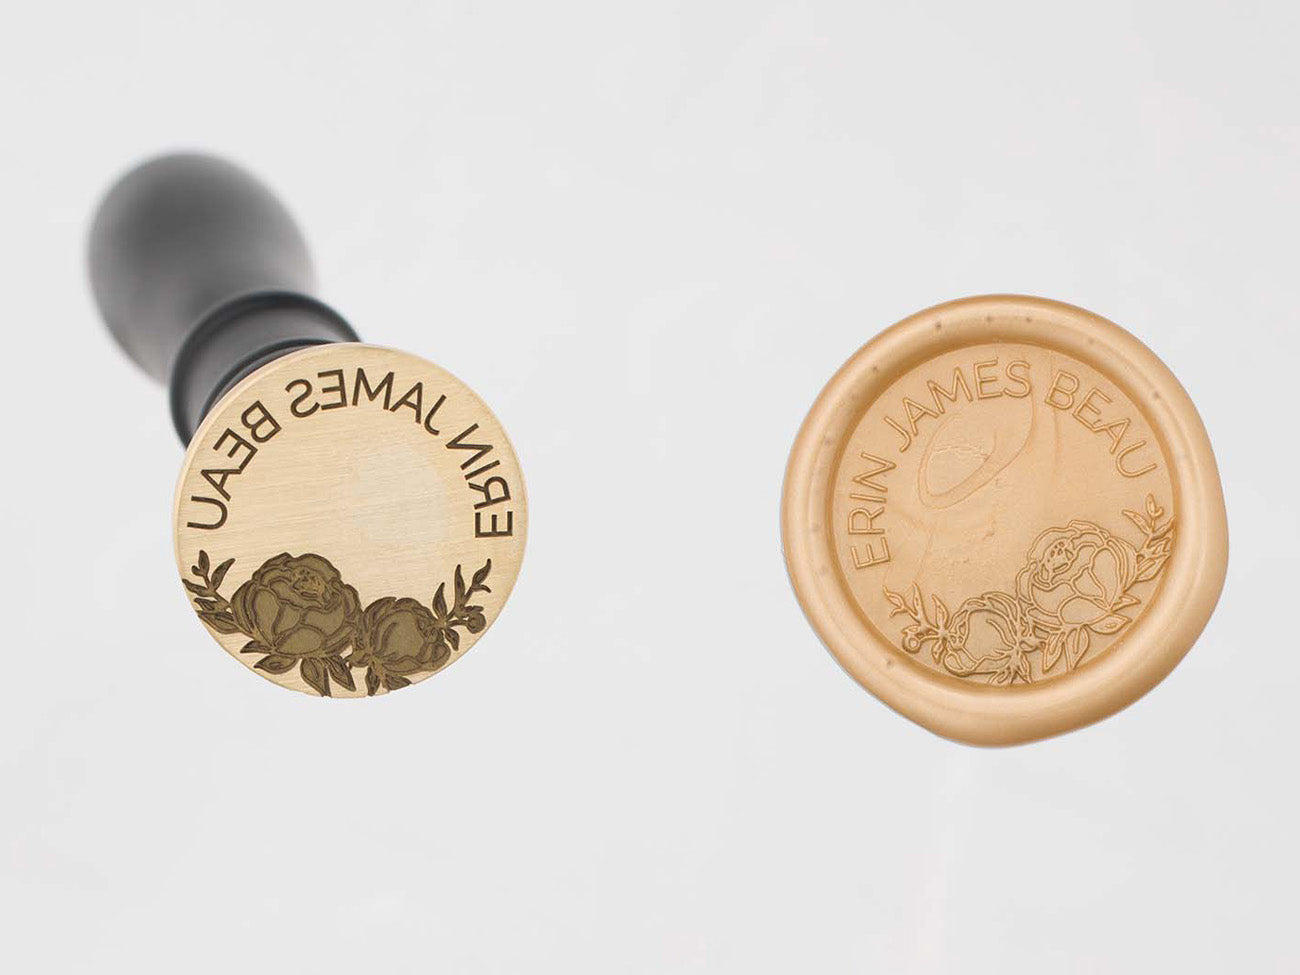
- Wax Stamp
- Sealing Wax Sticks
- Sealing Wax Gun
- Ice pack
- Heat resistant surface, ex: silicone baking mat
- Microfiber cloth (optional)
Set-Up
To start, find a clear surface to make your wax seals on. Creating wax seals can be messy, so be sure to clean any clutter around you and make sure you aren't making it on a surface you do not want potentially damaged. Once you have your cleared area, plug in your sealing wax gun and place it on a heat-resistant mat. Next, put your wax stamp on your ice pack to cool.
Step 1 - Heat sealing wax sticks
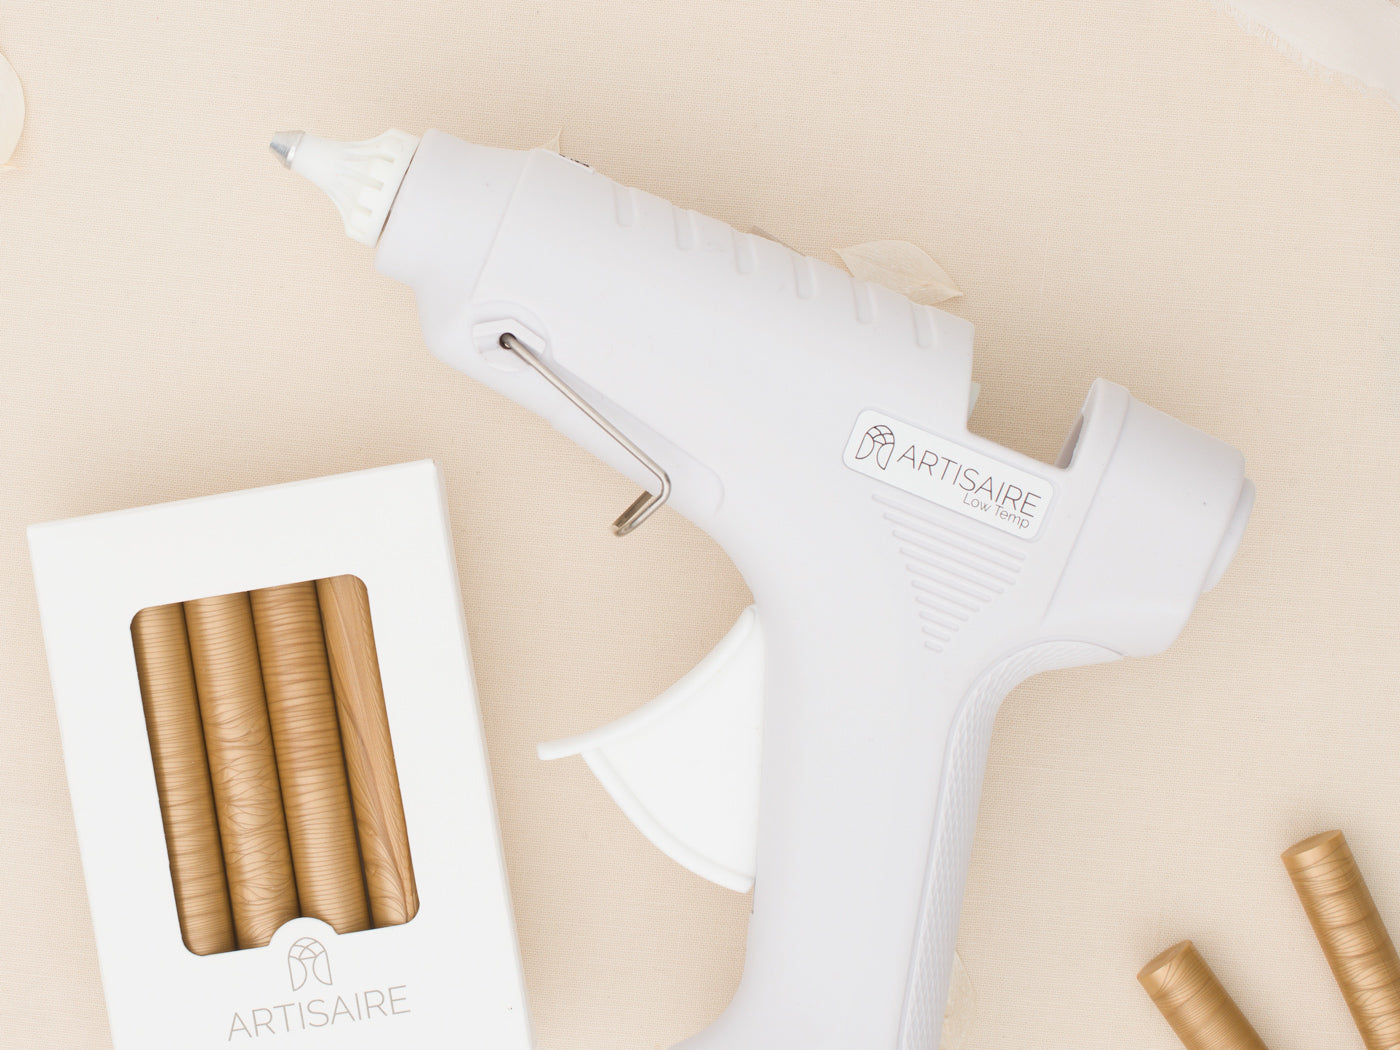
To heat your sealing wax, insert two sticks into the chamber of the sealing wax gun. Then wait 5-7 minutes for the wax to reach the proper temperature. It is essential to give a test squeeze every couple of minutes, as waiting too long will overheat the wax. You are ready to pour once you squeeze the sealing wax from the gun with a low effort.
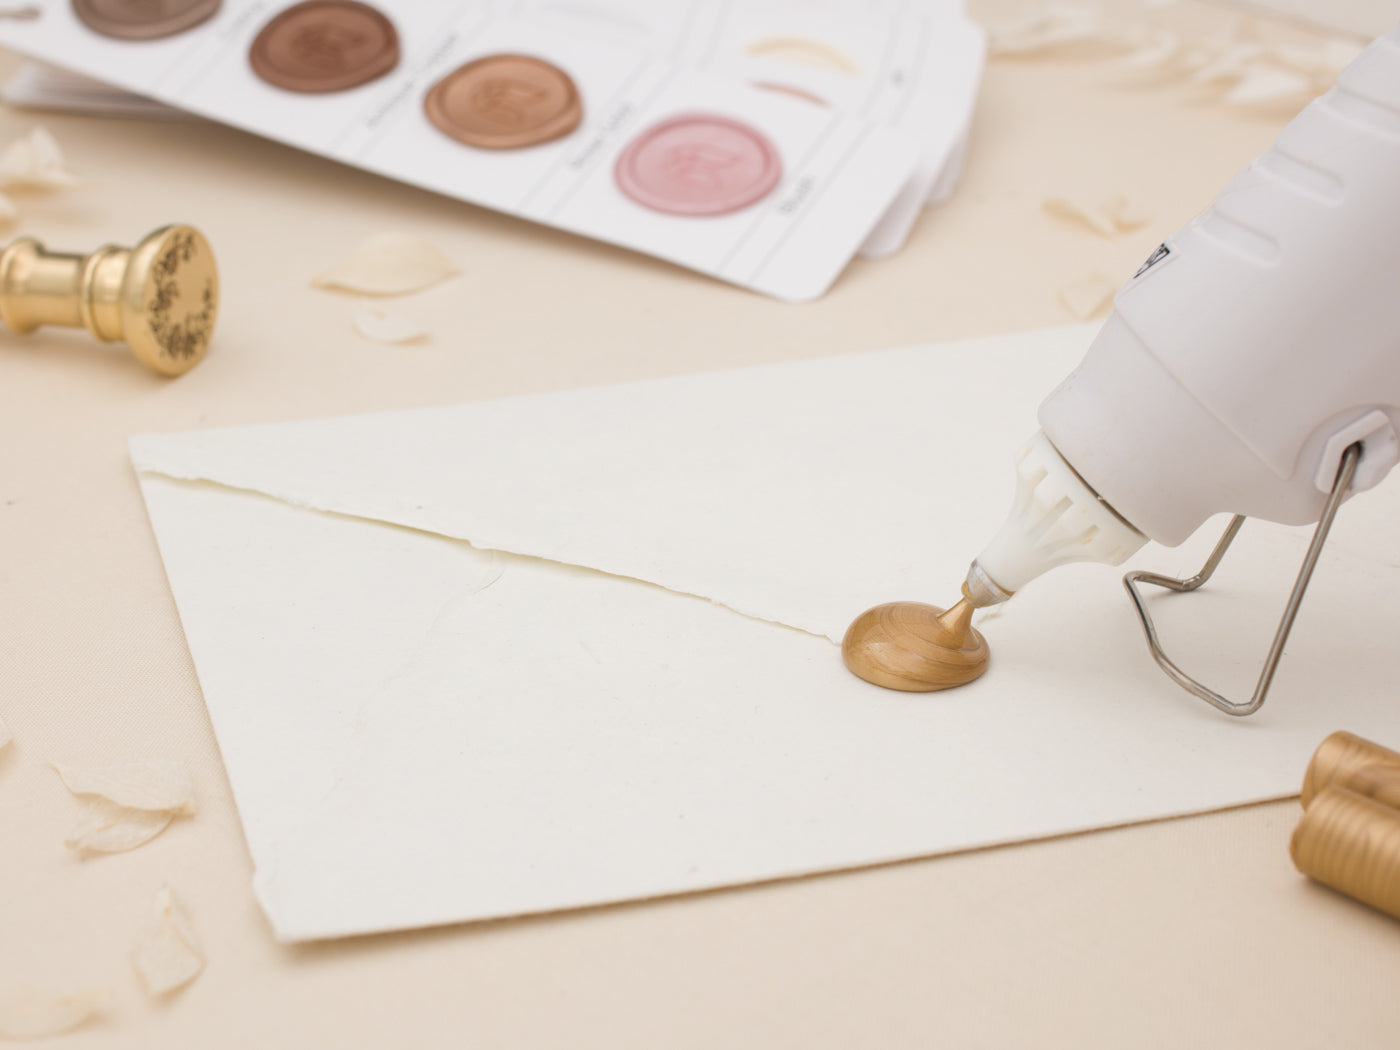
Step 2 - Dispense sealing wax

Once your sealing wax is adequately heated, bring the wax gun nozzle 1-2 inches above your surface and squeeze the trigger. Aim for a pour slightly larger than your wax stamp.
Your wax seal will mimic the shape of your pour. For a uniform look, try to create a circular pour; try to add some variation for an organic look. Explore our Pouring Guide for more tips.
Step 3 - Stamp sealing wax

Remove your wax stamp from the ice pack and wipe any condensation with the palm of your hand or a microfibre cloth. Then press your wax stamp into the sealing wax, making sure to keep your stamp level and applying a fair amount of pressure. Leave in the sealing wax for 5-10 seconds.
Step 4 - Reveal wax seal

Give your stamp a test pull after waiting for the sealing wax to cool. If you feel the stamp sticking, wait another 5-10 seconds and try again.
How To Use Sealing Wax Beads
Materials Required
- Wax Stamp
- Sealing Wax Beads
- Sealing Wax Spoon
- Ice pack
- Heat resistant mat, ex silicone baking mat
- Microfiber cloth (optional)
Set-Up
Find a surface to work on that is not flammable and you don't mind getting sealing wax on. As you will be working with hot tools and an open flame, you must work with a heat-resistant mat to put tools on when not in use.
Start by placing your wax stamp on an ice pack and lighting a candle. Tealight candles are suitable; however, larger candles will make melting wax quicker. You can use your favorite scented candle for this project.
Step 1 - Melt your sealing wax beads.

Place 1-2 sealing wax beads in your spoon and hold just outside the flame on your lit candle. It will take 30-60 seconds to melt your beads, depending on the size of the flame. Ensure to avoid direct skin contact with the spoon when melting.
Bonus: Try melting different color beads together to create a marbling effect.
Step 2 - Pour melted sealing wax

Once your sealing wax beads have melted, pour them onto your project in a circular motion. Aim for a pour size that is slightly larger than your wax stamp. Be deliberate in making your edge, as your final seal will resemble the pour.
Step 3 - Press into sealing wax

Press your wax stamp into the poured sealing wax. Be sure to apply moderate pressure and keep the stamp level. Allow 5-10 seconds to cool.
Step 4 - Pull away and reveal the wax seal

After you've allowed the sealing wax to cool, start with a test pull by gently lifting your wax stamp. If you feel it sticking, the wax hasn't thoroughly cooled. Give another 5-10 seconds to cool more until you can easily lift the stamp from the wax.
Troubleshooting
Can I Use Candle Wax To Make Wax Seals?
Sealing wax has a different composition than candle wax. Your wax stamp will leave an impression. However, candle wax will crumble and break easily.
I Am Trying To Switch Colors In My Sealing Wax Gun
To switch colors, first clear the chamber with regular glue gun sticks until it dispenses clear. Then insert the new color and squeeze the trigger to push the glue out until it dispenses, only sealing wax. We recommend investing in a sealing wax gun for each color you use if you switch colors.
My Sealing Wax Is Bubbling
Bubbling sealing wax means your wax is overheated. Unplug from the wall and continue to work until it is cool. Once the trigger becomes difficult to squeeze, plug the sealing wax gun in again.
My Sealing Wax Gun Is Dripping
This happens when your sealing wax is overheated. Unplug your gun, and continue to make seals as the wax cools. Once it becomes difficult to squeeze the trigger, plugin again.
My Wax Stamp Keeps Sticking
The sealing wax is too hot, or the wax stamp hasn't cooled enough. Leave your wax stamp on the ice pack longer between seals or give some time for the wax to cool before pressing.
There Is Wax Stuck In My Stamp
Pour some sealing wax and make a wax seal, removing any leftover wax. If this doesn't work, you can use a toothpick to pluck the wax. Avoid using a metal object as it can scratch the stamp.
My Sealing Wax Spoon Is Covered In Soot
This is normal as an open flame will cause soot to form on the bottom of your sealing wax spoon. We recommend cleaning with every use. To clean your spoon, wipe it with a paper towel once it has cooled.
How Many Seals Can You Get Out Of A Wax Stick?
You can make 8-10 1" seals for each sealing wax stick. We sell them in packs of 6 to make 50-60 1" seals per pack.